

Description
-
Model List:
- Payload Meter III
- 1. MAIN MENU
- 2. COVER
- 3. PAYLOAD METER III INDEX
- 4. OPERATION SECTION
- 4.1. INTRODUCTION
- 4.1.1. Data Summary
- 4.1.2. Data Gathering
- 4.2. COMPONENT DESCRIPTION
- 4.2.1. System Diagram
- 4.2.2. Suspension Pressure Sensors
- 4.2.3. Inclinometer
- 4.2.4. Operator Display
- 4.2.5. Operator Switch
- 4.2.6. Speed Input
- 4.2.7. BodyUp Switch
- 4.2.8. Brake Lock Switch
- 4.2.9. Payload Meter
- 4.2.10. Communications Ports
- 4.2.11. Keyswitch Input
- 4.2.12. Payload Meter Power
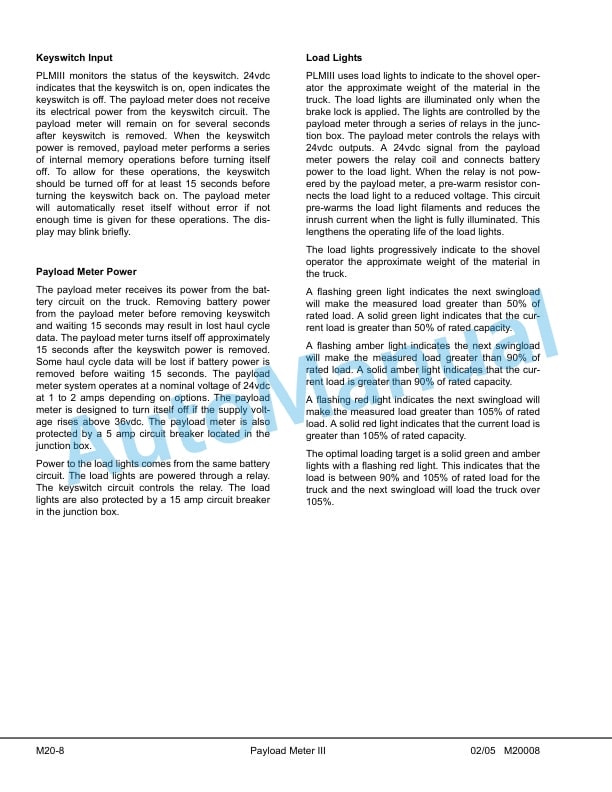
- 4.2.13. Load Lights
- 4.2.14. Wiring and Termination
- 4.2.15. TCI Outputs
- 4.3. OPERATORS DISPLAY AND SWITCH
- 4.3.1. Reading the Speedometer
- 4.3.2. Reading the Load Display
- 4.3.3. Using the Operator ID
- 4.3.4. Using the Load and Ton Counter
- 4.3.5. Total Ton Counter
- 4.3.6. Total Load Counter
- 4.3.7. Clearing the Counters
- 4.3.8. Viewing Live Sensor Data
- 4.3.9. Other Display Messages
- 4.4. PAYLOAD OPERATION CALCULATION
- 4.4.1. Description of Haul Cycle States
- 4.4.2. Haul Cycle Description
- 4.4.3. Load Calculation
- 4.4.4. Carry Back
- 4.4.5. Measurement Accuracy
- 4.5. SOURCES FOR PAYLOAD ERROR
- 4.5.1. Payload Error
- 4.5.2. Loading Conditions
- 4.5.3. Pressure Sensors
- 4.5.4. Swingloads
- 4.5.5. Speed and Distance
- 4.6. HAUL CYCLE DATA
- 4.6.1. Haul Cycle Data
- 4.6.2. Haul Cycle Warning Flags
- 4.6.3. M Haul Cycle Too Long
- 4.6.4. N Sensor Input Error
- 4.6.5. Frame Torque Data
- 4.6.6. Sprung Weight Data
- 4.6.7. Maximum Speed Data
- 4.6.8. Alarm Records
- 4.6.9. Fault Code Data
- 4.7. PC SOFTWARE OVERVIEW
- 4.7.1. PC Overview
- 4.7.2. System Configuration
- 4.7.3. Installing the PLMIII Software
- 4.8. DOWNLOADING DATA
- 4.9. PLM III SYSTEM CONFIGURATION
- 4.9.1. Starting Communications
- 4.9.2. Displayed Payload Units
- 4.9.3. Time Units
- 4.9.4. Connection Menu
- 4.9.5. Connecting to the Payload Meter
- 4.9.6. Configure the Payload Meter
- 4.9.7. Setting the Date and Time
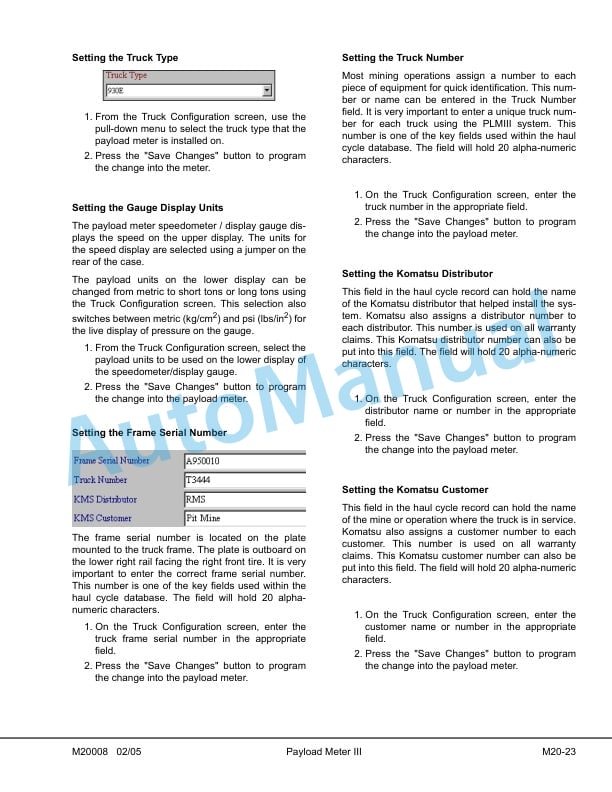
- 4.9.8. Setting the Truck Type
- 4.9.9. Setting the Gauge Display Units
- 4.9.10. Setting the Frame Serial Number
- 4.9.11. Setting the Truck Number
- 4.9.12. Setting the Komatsu Distributor
- 4.9.13. Setting the Komatsu Customer
- 4.9.14. Clean Truck Tare
- 4.9.15. Inclinometer Calibration
- 4.10. DATA ANALYSIS
- 4.10.1. Creating a Query
- 4.10.2. Sorting on Truck Unit Number
- 4.10.3. Sorting on Truck Type
- 4.10.4. Sorting on Date Range
- 4.10.5. Sorting on Time Range
- 4.10.6. Payload Detail Screen
- 4.10.7. Creating Reports
- 4.10.8. Summary one page report
- 4.10.9. Detailed multipage report
- 4.10.10. Creating Graphs
- 4.10.11. Exporting Data
- 4.10.12. CSV Export
- 4.10.13. Compressed
- 4.10.14. Importing Data
- 4.10.15. Deleting Haul Cycle Records
- 4.10.16. Viewing Alarms
- 4.10.17. Deleting Alarm Records
- 5. TROUBLESHOOTING SECTION
- 5.1. TROUBLESHOOTING
- 5.1.1. Viewing Active Alarms
- 5.1.2. RealTime Data Display
- 5.1.3. Testing the Payload Lights
- 5.1.4. Creating Log Files of Inputs
- 5.1.5. Daily Inspections
- 5.1.6. Periodic Maintenance
- 5.1.7. Abnormal Displays at PowerUp
- 5.1.8. No Payload Display When Keyswitch is Turned ON
- 5.1.9. No Display on Speedometer
- 5.1.10. No Display on Operator Display
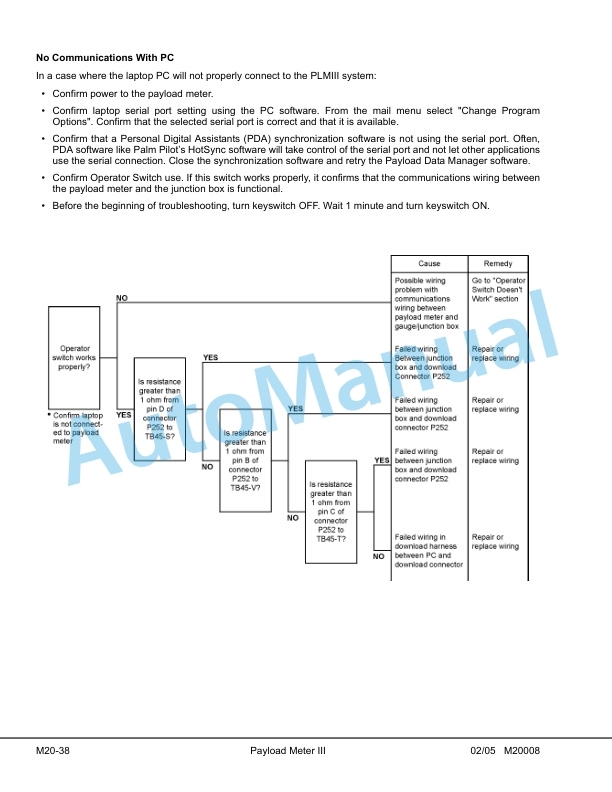
- 5.1.11. No Communications With PC
- 5.1.12. Load Lights Dont Light During Loading
- 5.1.13. Load Lights Remain ON
- 5.1.14. Load Lights Remain ON During Dumping
- 5.1.15. Display Doesnt Clear When The Load Is Dumped
- 5.1.16. Calibration Problems
- 5.1.17. Alarm 1 Left Front Pressure High
- 5.1.18. Alarm 2 Left Front Pressure Low
- 5.1.19. Troubleshoot Wiring to Left Front Suspension
- 5.1.20. Alarm 3 Right Front Pressure High
- 5.1.21. Alarm 4 Right Front Pressure Low
- 5.1.22. Troubleshoot Wiring to Right Front Suspension
- 5.1.23. Alarm 5 Left Rear Pressure High
- 5.1.24. Alarm 6 Left Rear Pressure Low
- 5.1.25. Troubleshoot Wiring to Left Rear Suspension
- 5.1.26. Alarm 7 Right Rear Pressure High
- 5.1.27. Alarm 8 Right Rear Pressure Low
- 5.1.28. Troubleshoot Wiring to Right Rear Suspension
- 5.1.29. Alarm 9 Inclinometer High
- 5.1.30. Alarm 10 Inclinometer Low
- 5.1.31. Troubleshoot Inclinometer Wiring
- 5.1.32. Alarm 13 Body Up Input Failure
- 5.1.33. Alarm 16 Memory Write Failure
- 5.1.34. Alarm 17 Memory Read Failure
- 5.1.35. Alarm 18
- 5.1.36. Alarm 19
- 5.1.37. Alarm 22
- 5.1.38. Operator Switch Doesnt Work
- 5.1.39. Alarm 26 User Switch Fault SELECT
- 5.1.40. Alarm 27 User Switch Fault SET
- 5.1.41. Connector Map
- 5.1.42. Connectors
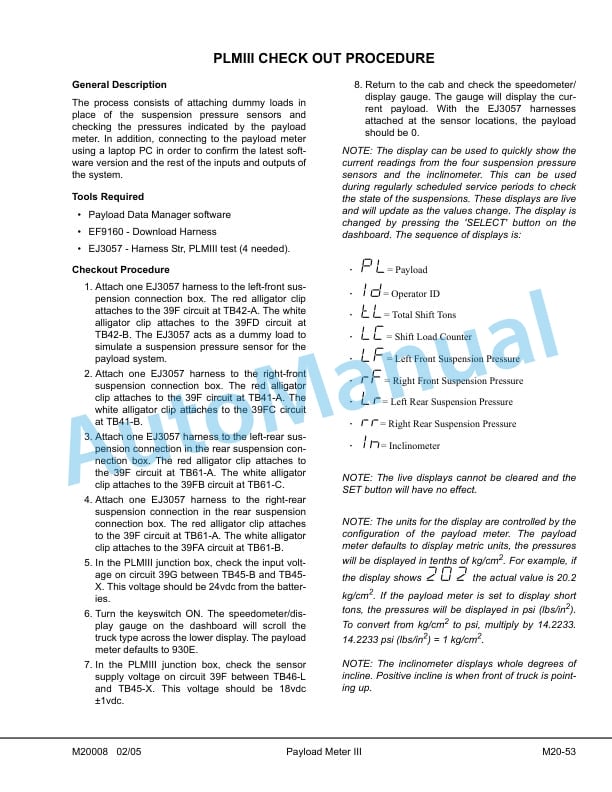
- 6. PLMIII CHECK OUT PROCEDURE
- 6.1. General Description
- 6.2. Tools Required
- 6.3. Checkout Procedure
- 6.4. PLMIII CHECKOUT PROCEDURE CONFIRMATION
- 6.4.1. Flashburn Programming
- 6.4.2. Confirmation Checklist
- 7. PAYLOAD METER III SCHEMATICS EH68009








There are no reviews yet.